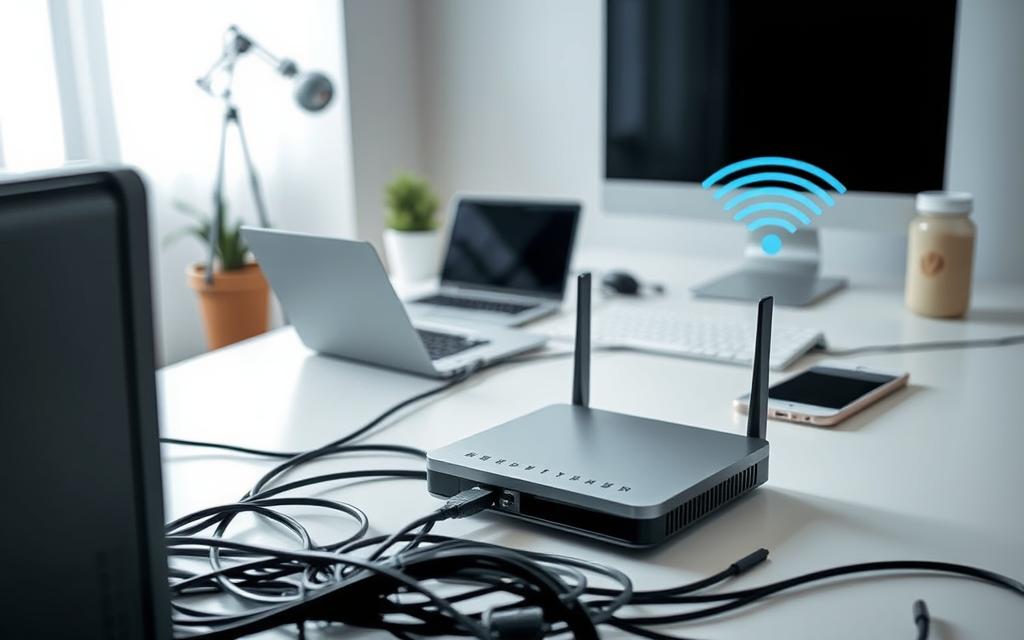
In today’s digital age, a stable network is essential for both home and office environments. With 89% of U.S. households relying on Wi-Fi, understanding the basics of setting up a reliable connection is more important than ever.
Whether you’re integrating smart devices or expanding your office setup, knowing key terms like router, modem, and IP address can simplify the process. This guide will walk you through the steps to ensure your computer or PCs are seamlessly connected to your network.
From hardware checks to security protocols, we’ll cover everything you need to know. Whether you prefer the reliability of Ethernet or the convenience of Wi-Fi, this guide is tailored for Windows users to make the process straightforward and efficient.
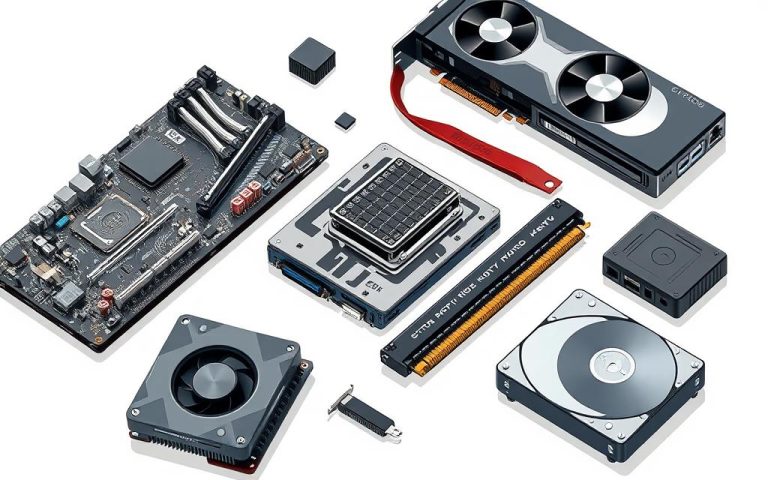
Before diving into settings, it’s essential to ensure your hardware is working correctly. A stable network relies on properly connected routers, modems, and cables. Start by inspecting the LED indicators on your devices. Green lights typically signal a healthy connection.
Next, verify all cable connections. Loose or damaged cables can disrupt your network. If you’re using a Windows device, open the Device Manager to check your network adapters. This step ensures your hardware is recognized and functioning.
Begin with a physical inspection of your router and modem. Ensure all cables are securely connected. Check the LED indicators for proper signals. If issues persist, use the Windows Network Diagnostics tool. Access it via Start > Settings > Network to troubleshoot further.
Verify Your Internet Connection
Once your hardware is confirmed, test your internet connection. Open a browser and visit a website to ensure you’re online. If the connection is slow or unavailable, restart your router. For detailed troubleshooting, refer to this guide.
Ensure Network Discovery Is Enabled
To access other computers on your network, enable network discovery. Navigate to Control Panel > Network and Sharing Center > Advanced Settings. Turn on network discovery to allow your device to detect others. This step is crucial for shared folders and drives.
Step
Action
1
Inspect router and modem LED indicators.
2
Check cable connections for damage or looseness.
3
Use Windows Network Diagnostics for troubleshooting.
4
Enable network discovery in Control Panel.
By following these steps, you’ll lay the groundwork for a reliable network. Proper hardware checks and settings ensure seamless connectivity for all your devices.
Setting Up Your Network Connection
Establishing a reliable network connection is a cornerstone of modern digital life. Whether you’re streaming, working, or gaming, a stable setup ensures smooth performance. This section covers three essential methods: Wi-Fi, Ethernet, and manual IP configuration.
Connecting via Wi-Fi
For most users, Wi-Fi is the go-to option for its convenience. Start by clicking the network icon in the taskbar. Select your Wi-Fi SSID from the list and enter the password when prompted. Ensure your router is placed centrally to minimize interference.
For optimal performance, consider upgrading to WPA3 security. It offers better protection than WPA2 without sacrificing speed. Avoid placing the router near walls or appliances that could disrupt the signal.
Using an Ethernet Cable
If you prioritize speed and stability, an ethernet cable is ideal. Connect one end to your router and the other to your desktop or laptop. For multi-story homes, use Cat6 cables for higher throughput compared to Cat5e.
Ethernet is especially useful for tasks requiring low latency, such as online gaming or video conferencing. Ensure all connections are secure to avoid disruptions.
Configuring IP Settings Manually
For advanced users, manual IP configuration offers greater control. Navigate to Control Panel > Network Connections. Right-click your connection and select Properties. Choose Internet Protocol Version 4 (TCP/IPv4) and click Properties again.
Enter the required IP address, subnet mask, and gateway details. This method is useful for static IP devices or troubleshooting limited connectivity issues. Use the ipconfig command in Command Prompt for additional diagnostics.
Troubleshooting Common Network Issues
When network issues arise, quick solutions can save time and frustration. Whether it’s authentication errors, unrecognized devices, or slow speeds, understanding the root cause is key. This section provides actionable steps to resolve these problems efficiently.
Resolving “Network Credentials” Errors
Authentication failures often occur when accessing shared folders or printers. Start by verifying the credentials entered. Ensure the username and password match the account on the target computer.
If issues persist, configure local security policies. Navigate to Control Panel > Administrative Tools > Local Security Policy. Adjust account lockout thresholds and durations to prevent unauthorized access.
“Properly configuring security policies balances accessibility and protection against unauthorized access.”
Fixing Unrecognized Computers on the Network
If devices aren’t recognized, ensure network discovery is enabled on all computers. Go to Control Panel > Network and Sharing Center > Advanced Settings. Turn on network discovery to allow device detection.
For shared folders, type the computer name in File Explorer (e.g., \\computername). Verify that Public folder sharing is enabled if broader access is needed. For more details, refer to this guide.
Dealing With Slow Connection Speeds
Slow speeds can stem from interference or bandwidth hogs. Use Resource Monitor to identify applications consuming excessive bandwidth. Open it by typing ‘resmon’ in the Start menu search bar.
Optimize Wi-Fi channels for dual-band routers. For 2.4GHz networks, use channels 1, 6, or 11. For 5GHz, select the least congested channel using a Wi-Fi analyzer tool. For advanced troubleshooting, perform a packet loss test with the ping -t command in Command Prompt.
Issue
Solution
Authentication Errors
Configure local security policies.
Unrecognized Devices
Enable network discovery.
Slow Speeds
Optimize Wi-Fi channels and monitor bandwidth usage.
By following these steps, you can address common network issues and maintain a reliable connection. For further insights, explore this resource.
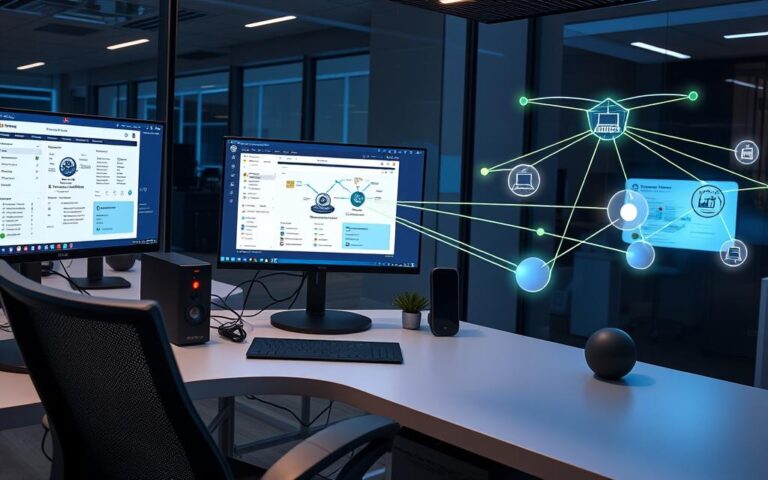
Securing Your Network Connection
Protecting your digital environment starts with securing your network. A robust setup ensures your home or office remains safe from unauthorized access. This section focuses on essential steps to enhance your network security.
Changing Default Router Credentials
Default router credentials are a common vulnerability. Start by accessing your router’s admin interface. Use the default IP address (e.g., 192.168.1.1) in your browser. Log in with the provided username and password.
Once inside, change the default credentials. Create a unique username and a strong password. Avoid using common phrases or personal information. This step prevents unauthorized access to your network settings.
Setting Up a Strong Network Password
A strong password is your first line of defense. Use a minimum of 12 characters, including uppercase letters, numbers, and special symbols. Avoid predictable patterns like “123456” or “password.”
For added security, enable WPA3 encryption on your router. It offers better protection than older protocols. Regularly update your password to stay ahead of potential threats.
Security Measure
Action
Router Credentials
Change default username and password.
Network Password
Use 12+ characters with special symbols.
Encryption
Enable WPA3 for enhanced security.
Firmware Updates
Regularly update router software.
By implementing these measures, you’ll create a secure network environment. Protecting your home or office setup ensures peace of mind and uninterrupted access to the internet.
Conclusion
Ensuring a secure and efficient network setup is vital for modern users. By following the outlined steps, you can protect your home or office environment while optimizing performance. Emerging technologies like Wi-Fi 6E and 10G Ethernet are reshaping connectivity, offering faster speeds and greater reliability.
Regular maintenance is key to long-term success. Update your router firmware, monitor bandwidth usage, and change passwords frequently. For complex setups, professional support can provide tailored solutions.
We encourage people to share their experiences or ask questions in the comments. For further learning, explore resources like CompTIA Network+ certification materials. Finally, test your network speed using tools like Ookla Speedtest to ensure optimal performance.
FAQ
What hardware is needed to connect a computer to a network?
You’ll need a router, modem, and either a Wi-Fi adapter or Ethernet cable. Ensure all devices are powered on and properly connected.
How do I enable network discovery on Windows?
Open Settings, go to Network & Internet, select Sharing Options, and turn on Network Discovery under the appropriate profile.
Can I connect to a network without Wi-Fi?
Yes, use an Ethernet cable to directly connect your computer to the router for a stable and fast connection.
Why can’t I see other computers on my network?
Ensure Network Discovery is enabled and all devices are on the same network. Check firewall settings to allow sharing.
How do I fix "Network Credentials" errors?
Verify the username and password of the account you’re using. Ensure the account has access permissions on the target computer.
What should I do if my network connection is slow?
Restart your router, check for interference, or switch to a wired connection. Update your router’s firmware for optimal performance.
How can I secure my network connection?
Change the default router login credentials, set a strong Wi-Fi password, and enable WPA3 encryption for enhanced security.
Can I manually configure IP settings?
Yes, go to Network & Internet Settings, select your connection, and enter the IP, subnet mask, gateway, and DNS details manually.
A host refers to any device connected to a network with a unique IP address. It plays a vital role in enabling communication and data exchange across systems. Whether it’s a laptop, smartphone, or server, each device acts as a host, facilitating seamless interactions within networks. Hosts are categorized into two main types: client and…
Computer network protocols are the backbone of digital communication, enabling devices to exchange information seamlessly. These protocols are essential for facilitating communication between different devices, ensuring data is transmitted accurately and efficiently. Think of them as the rulebook that governs how data travels across the internet. Protocols like TCP/IP and Internet Protocol (IP) are fundamental…
Knowing your computer’s network name is key for managing your network and solving problems. It’s why finding your computer network name is so important. Computers on a network need unique names to avoid issues. Over 1,020,112 people have read about finding computer network names. This shows how important it is for network management. This guide…
Computer hardware is the physical parts of a computer. These parts work together to make the computer work. Key parts include the central processing unit, hard drives, and graphics cards. Knowing about different hardware helps us see how computers work. It’s important to understand this. Hardware can be inside or outside the computer. Inside parts,…
In today’s digital world, file servers are key in computer networks. They help share and manage data files efficiently. A file server is like a central hub that stores and organises data. This makes it easy for users to share files over a network, without having to physically move them. Every computer network has a…
In this day, being able to remotely access another computer is crucial. Our guide covers various remote desktop technologies. Technologies like Windows Remote Desktop Connection, Chrome Remote Desktop, and TeamViewer are highlighted. They help you manage IT tasks effectively. Remote desktop solutions boost productivity and enhance security. By following our steps and paying attention to…